
Thinking in 3D: Modeling and Rendering Masterclass

InstructorYeahyea Abdullah Ansari3D Modelling & CGI Instructor

About This Course

An eight-week, fundamentals-first course for beginners who want to understand how 3D images are built. We begin with dot, line, shape, depth and the way we see, then use Blender to explore space, geometry, materials, lighting and cameras. Each software tool is introduced through the problem or idea it helps explain.

Students build a simple everyday object and develop it into a finished render. Discussion, guided experiments and selected work reviews make the reasoning visible, including the mistakes and revisions that help a model improve.

Modules Covered:

  1. 3D fundamentals and navigation
  2. Space, form and visual perception
  3. Observation, proportion and polygon modeling
  4. Geometry, topology and a guided modeling project
  5. Materials, shading and surface response
  6. Lighting, shadows and mood
  7. Camera, composition and rendering
  8. Final project development and critique

Instructor

Yeahyea Abdullah Ansari

Yeahyea Abdullah Ansari

3D Modelling & CGI Instructor

Yeahyea Abdullah Ansari leads the R&D team at Ogopogo Studios and is the instructor for Thinking in 3D at Ogopogo School. His teaching connects the fundamentals of space, geometry and visual perception with practical work in Blender.

As a mentor, Abdullah encourages questions, experimentation and clear explanations of creative decisions. He helps students approach difficult concepts through smaller, observable steps, with an emphasis on understanding and steady improvement alongside their career goals.
Curriculum

16 Classes

8 weeks · Saturday and Monday, 7:00 PM - 9:00 PM (Online)

Week 1 - Class 1: From Dot to DepthRecognize how simple visual elements describe form and depth, while practising the habit of observing, questioning, and explaining.
  • Dot, line, shape and the move from flat shapes to three-dimensional form
  • Comparing a drawing with an object seen from several viewpoints
  • Depth cues such as overlap, relative size, light and shadow
  • Breaking a familiar object into simple forms through sketches and a Blender demonstration
  • Sharing predictions, asking questions and discussing different interpretations
Week 1 - Class 2: Navigating BlenderNavigate a Blender scene, select and transform objects, and recover confidently when the view becomes confusing.
  • The interface, viewport, Outliner and object selection
  • Orbit, pan, zoom, frame selected and return to a useful view
  • Front, side and top views: perspective and orthographic views
  • Moving, rotating and scaling objects along specific axes
  • Saving a Blender file and returning to the same scene
  • Navigation task and selected screen-share evaluation
Week 2 - Class 3: Dimensions, Space, Form, and ObjectsUnderstand width, height and depth as spatial directions, and describe how objects occupy and relate to space.
  • Dimensions and the X, Y and Z axes
  • Coordinates, the world origin and an object’s position
  • Object origins and the difference between local and world directions
  • Form, volume, empty space and relationships between objects
  • Predicting how an arrangement of objects will look from another viewpoint
Week 2 - Class 4: How We SeeExplain how light and viewpoint help us see form, and connect these ideas to perspective and apparent size.
  • Light travelling from a source, interacting with a surface and reaching the eye or camera
  • How overlap, shadows and changes in brightness help us interpret depth
  • Perspective, viewing position, apparent size and proportion
  • Focal length and framing, compared with changing the camera’s position
  • Light spreading with distance: an intuitive introduction to the inverse-square law
Week 3 - Class 5: Reading and Simplifying FormRead an object from observation and plan a simple model before adding detail.
  • Silhouette and the large forms that make an object recognizable
  • Comparing proportions, relative sizes and real-world scale
  • Reading references from multiple views and noticing missing information
  • Breaking an object into cubes, cylinders, spheres and other primitive forms
  • A rough Blender blockout, followed by comparison with the reference
Week 3 - Class 6: Modeling FundamentalsUse basic mesh-editing tools to turn a blockout into a simple, intentional form.
  • Object Mode and Edit Mode
  • Vertices, edges and faces as the components of a mesh
  • Selecting and transforming mesh components
  • Extrusion, bevel and loop cuts, introduced through the changes they make to form
  • A guided build-along with checks from several views and opportunities to correct mistakes
Week 4 - Class 7: Geometry and Basic TopologyUnderstand how mesh connections affect shape and shading, and recognize common geometry problems.
  • Geometry and topology: the form and the way its parts connect
  • Face normals and why surface direction matters
  • Edge flow, triangles, quads and n-gons in simple models
  • Subdivision and how supporting geometry changes the result
  • Finding duplicate vertices, unwanted holes and visible shading problems
Week 4 - Class 8: Guided Modeling ProjectComplete a simple everyday object using observation, proportion checks and basic topology decisions.
  • Choosing a manageable object and identifying its main forms
  • Planning the modeling sequence from large forms to smaller details
  • Building and refining the model with tools introduced so far
  • Checking silhouette, scale, normals and mesh structure
  • Selected screen shares, instructor feedback and revisions
Week 5 - Class 9: Understanding SurfacesObserve how surfaces respond to light and identify the qualities that make common materials look different.
  • Comparing wood, metal, plastic, glass and clay under similar lighting
  • Surface color, reflection, roughness and transparency
  • Highlights and what they reveal about form and surface character
  • The difference between a material, a shader and a texture
  • Predicting how the same object will appear with different surface properties
Week 5 - Class 10: Building Materials in BlenderBuild and assign simple materials in Blender, then adjust them through observation.
  • The Shader Editor and a basic shader-to-output connection
  • Base color, roughness, metallic response and transmission
  • Assigning materials to objects or selected faces
  • Comparing changes under consistent lighting
  • Applying and refining materials on the guided model
Week 6 - Class 11: Lighting FundamentalsUse light direction, size, distance and intensity deliberately to make form readable.
  • Light types and placing a light relative to the object
  • Direction, highlights, shading and cast shadows
  • Light size, relative distance and shadow softness
  • Intensity, distance and falloff
  • A simple lighting setup that separates the object from its background
Week 6 - Class 12: Lighting WorkshopCompare lighting choices and use them to change the clarity and mood of the same scene.
  • Starting with one light and observing what it reveals
  • Changing one lighting variable at a time
  • Adding supporting light where the form needs it
  • Comparing contrasting moods while keeping the model consistent
  • Reviewing selected student scenes and explaining the lighting decisions
Week 7 - Class 13: Camera and CompositionChoose a camera view that communicates the object’s form clearly and directs the viewer’s attention.
  • Camera position, viewing angle and perspective
  • Focal length and field of view; distinguishing lens changes from camera movement
  • Framing, negative space and the relationship between object and background
  • Visual hierarchy, balance and a clear focal point
  • Comparing camera views before committing to a final composition
Week 7 - Class 14: Rendering FundamentalsProduce a complete draft render and understand the main tradeoffs between image quality and render time.
  • Scene preparation and choosing a render engine
  • Exposure and judging the image’s brightness
  • Sampling, noise and denoising
  • Resolution, output format and saving a rendered image
  • Using test renders to identify problems and choose appropriate final settings
Week 8 - Class 15: Final Project WorkshopBring modeling, materials, lighting and camera work together and prioritize the changes that improve the image.
  • Reviewing the draft render against the intended result
  • Refining silhouette, proportion and any visible topology problems
  • Adjusting material response and lighting together
  • Revisiting camera framing and composition
  • Instructor feedback on selected work, followed by focused revisions
Week 8 - Class 16: Final Render and DiscussionPresent a finished render, explain the decisions behind it and identify a useful next step for continued learning.
  • Presenting the model and final rendered image
  • Explaining modeling, material, lighting and camera decisions
  • Group critique based on observation, reasoning and improvement
  • Reflecting on mistakes, revisions and concepts that became clearer
  • Discussing future applications and choosing a manageable next personal project
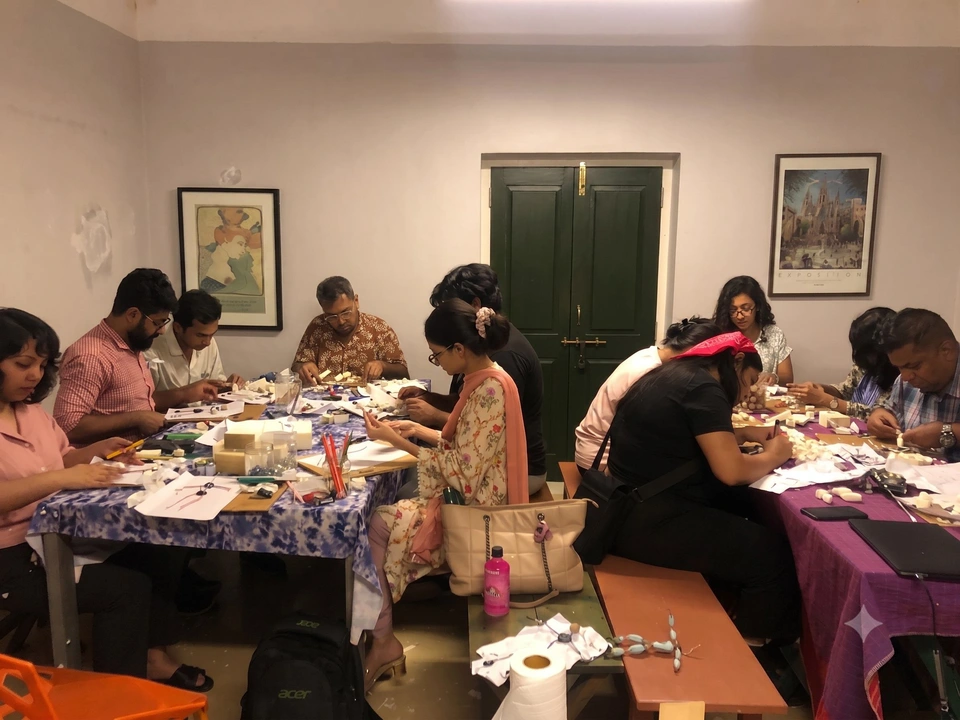
Students and artists making puppets together inside the studio

Why Choose Ogopogo?

We provide comprehensive animation education with industry-leading instructors and cutting-edge techniques used in major studios worldwide.

  • Certificate of completion for all courses
  • Industry-standard software and techniques
  • Build a professional animation portfolio
  • Lifetime access to course materials and updates
  • Active community and networking opportunities
  • Career support and studio connections

IP Geolocation by DB-IP

OGOPOGO SCHOOL

Your Cart